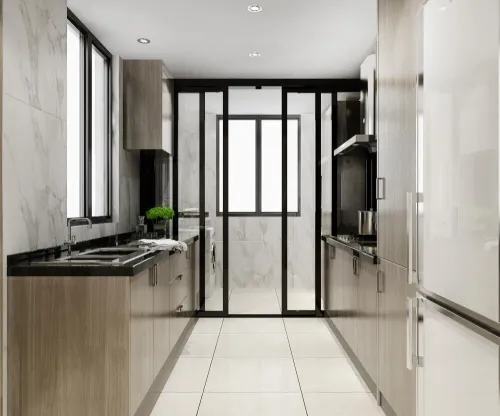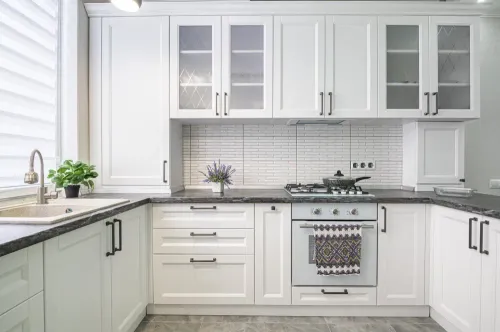
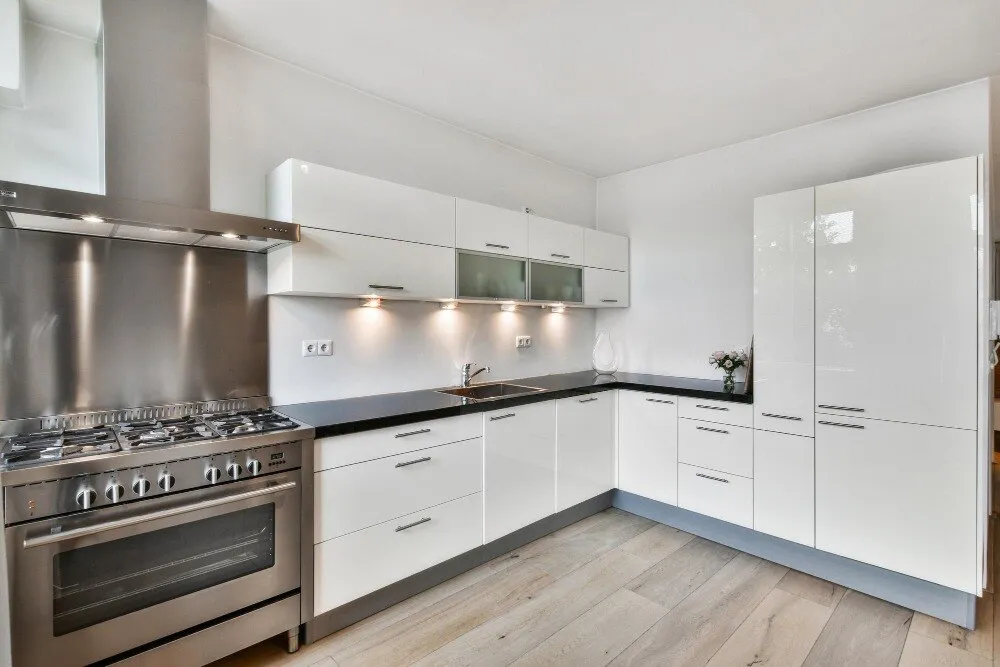
A successful kitchen installation depends on measurements, service points, clearances and installation order—not only on choosing a layout. By the end, you will know how to prepare a Pune kitchen, compare C-shaped and L-shaped plans, coordinate each installation stage and inspect the finished work before handover.
Key takeaways
- Record every wall, opening and service point in millimetres.
- Choose L-shaped layouts for open access and C-shaped layouts for more work surface.
- Keep appliance doors, walkways and cabinet doors clear before fixing units.
- Test plumbing, electrical points, drawers and hinges before handover.
What to Measure Before Ordering a Shaped Kitchen in Pune
Record dimensions in millimetres, not estimates. Measuring only the floor length causes filler strips, misaligned corners and appliance-fit failures during a shaped kitchen installation in Pune.
1. Measure each wall from finished corner to finished corner at floor, countertop and ceiling heights. Record ceiling height, finished-floor level, wall squareness, tile thickness, skirting height and skirting depth. Note every beam, column, duct, pipe chase and uneven projection.
2. Record each door and window’s width, height, sill level, opening direction and trim depth. Include the clearance to adjacent corners so a shutter or drawer does not strike the frame.
3. Mark water inlet, waste outlet, gas point, electrical sockets, exhaust openings and appliance circuits. Photograph the points with a scale beside them, and note whether a plumber can reach the waste trap after installation.
4. List every appliance by exact model. Record its niche width, height, depth, ventilation gap, door-swing direction, power load and service-access requirement; a nominal 600 mm width is not enough for an oven, dishwasher or refrigerator.
5. For a C-shaped plan, measure all three connected runs, the peninsula end, corner cabinet positions and the circulation opening. Check approximately 1,067 mm for one cook or 1,219 mm for multiple cooks, then test the actual refrigerator and dishwasher doors.
Confirm these measurements before fabrication. They form the site-survey foundation of the modular kitchen installation process and prevent changes after cabinets are ordered.
How to Choose Between C-Shaped and L-Shaped Layouts
A C-shaped layout suits a wider room, multiple cooks and high storage demand; an L-shaped kitchen fits a narrower room and keeps one side open to dining or the utility area. Choose the room’s circulation pattern before choosing cabinet style.
| Option | Room and connections | Cooking and storage |
|---|---|---|
| L-shaped | Uses two measured walls, leaving the other sides open for dining, utility access or a passage. | Suits one primary cook, moderate storage and shorter movement between preparation, sink and hob. |
| C-shaped | Uses three connected runs, often two walls plus a peninsula. The peninsula end and circulation opening must be fixed during measurement. | Suits frequent cooking, two users and more worktop and storage, but adds corners and hardware cost. |
Choose L-shaped if a refrigerator, sink or hob would otherwise narrow the passage between opposing counters. Its single corner still needs a planned solution: a carousel, magic-corner mechanism or drawer unit requires specific cabinet width and hardware clearance. A standard corner can become dead storage.
Choose C-shaped when you need separate preparation, cooking and washing zones and can preserve a clear opening beside the peninsula. Do not place a hob, sink or tall appliance immediately beside a corner; handles and doors can collide, and one side of the corner can become unusable.
A filler may reduce cabinet length but protect access.
For a C-shaped or L-shaped kitchen for installation in Pune, confirm every appliance model’s niche size, ventilation gap, door swing, power load and service access before manufacturing. Keep the sink waste trap reachable, then test the drain under running water before closing backs or plinths.
Clearances, Work Zones and Corner Planning
A C-shaped kitchen installation needs a planned work aisle, not leftover circulation space. Keep about 1,067 mm for one cook or 1,219 mm for multiple cooks between opposing runs, then test the actual refrigerator, dishwasher and oven doors in the open position. A peninsula end can narrow the passage enough to block movement.
Treat the layout as three connected work runs—two walls and a peninsula. Reserve separate zones for storing, washing and cooking, and place the sink, preparation counter and hob so you do not cross the aisle repeatedly. Fix the circulation opening, corner cabinet positions and peninsula end before fabrication.
An L-shaped kitchen fitting uses two measured walls and one corner solution. Do not count the corner as usable storage until you choose its access method; a dead corner wastes cabinet volume, while a carousel, magic-corner mechanism or drawer system needs specific cabinet width and hardware clearance.
Before cabinets are made, record these appliance details:
- Niche width, height and depth
- Ventilation gap and service access
- Door-swing direction and nearby collision points
- Power load, socket position and chimney duct route
A nominal 600 mm appliance width does not guarantee fit. Manufacturer drawings control.
Each inside corner also affects drawer fronts, shutter swings and countertop joints. Keep the waste trap reachable beneath the sink, seal the rim or undermount joint, and run water through the drain before closing cabinet backs or plinths. A dry visual inspection will not reveal a leaking connection.
The Installation Sequence from Services to Countertop
Confirm the approved drawing and appliance schedule before anything is fixed. Record each model’s niche size, ventilation gap, door-swing direction, power load and service access; a nominal 600 mm appliance width does not guarantee a usable opening.
- Protect the finished floor, then mark cabinet lines, wall-unit heights, appliance niches and the circulation opening.
- Complete or confirm plumbing, drainage, electrical, gas and chimney points. Test concealed services before cabinets hide them.
- Install and level the base units, joining adjacent carcasses and securing them to the wall. In a C-shaped kitchen installation, check every inside corner, peninsula end and drawer clearance as the runs meet.
- Secure the wall units, keeping the specified gap above the countertop and clearance around the chimney or other appliances.
- Fit fillers, decorative end panels, corner accessories and plinths, but leave removable sections where traps, valves and appliance connections need access.
- Template the countertop only after the cabinets are fixed and level. This prevents inaccurate sink and hob openings.
- Install the countertop, seal joints, and cut or fit the sink and hob according to their manufacturer’s templates.
- Seal the sink rim or undermount joint, connect the waste trap, and run water to check for leaks before closing backs or plinths.
- Connect and install the appliances, checking ventilation, power, gas and service access rather than forcing a tight fit.
- Fit shutters, handles, hinges, drawer runners and soft-close hardware, then adjust alignment and opening clearances.
This modular kitchen installation process ends with appliance start-up, chimney or hob verification, removal of protective film, spare-hardware records and care instructions. The same order applies to L-shaped kitchen fitting, with fewer corner decisions.
Testing, Adjustments and Handover in Pune
Do not accept the kitchen because the shutters look aligned. Run every service, open every door and drawer, and record defects before the installer leaves; a visually complete shaped kitchen installation in Pune can still conceal leaks, collisions or inaccessible repairs.
1. Check the base cabinets with a level before judging the countertop. They must be levelled and joined, with no rocking, visible gaps or slab stress. Packing under an uneven countertop can crack stone and misalign the fronts.
2. Run water through the sink for several minutes. Inspect the sink rim or undermount joint, waste trap and drain connections for leaks, and keep the trap accessible before cabinet backs and plinths are closed.
3. Test each appliance in its final position. Confirm the model’s niche size, ventilation gap, door swing, power load and service access against the appliance schedule; nominal width alone is not enough. Verify hob, chimney, oven, dishwasher and refrigerator operation.
4. Open all drawers, corner mechanisms and shutters together. For L-shaped kitchen fitting, confirm that the corner solution reaches usable storage without collisions. For a C-shaped kitchen, test the peninsula end, three connected runs and circulation opening.
5. Check soft-close action, handles, backsplash joints, countertop edges, electrical points and protective-film removal. Ask for a written snag list with completion dates, plus the final appliance schedule, plumbing and electrical layouts, spare hardware, warranty records and care instructions.
Kibo World can provide a useful benchmark if its handover documents identify the installed hardware and adjustment procedure rather than only naming the kitchen layout. Sign the handover only after every listed defect is closed.
Related products
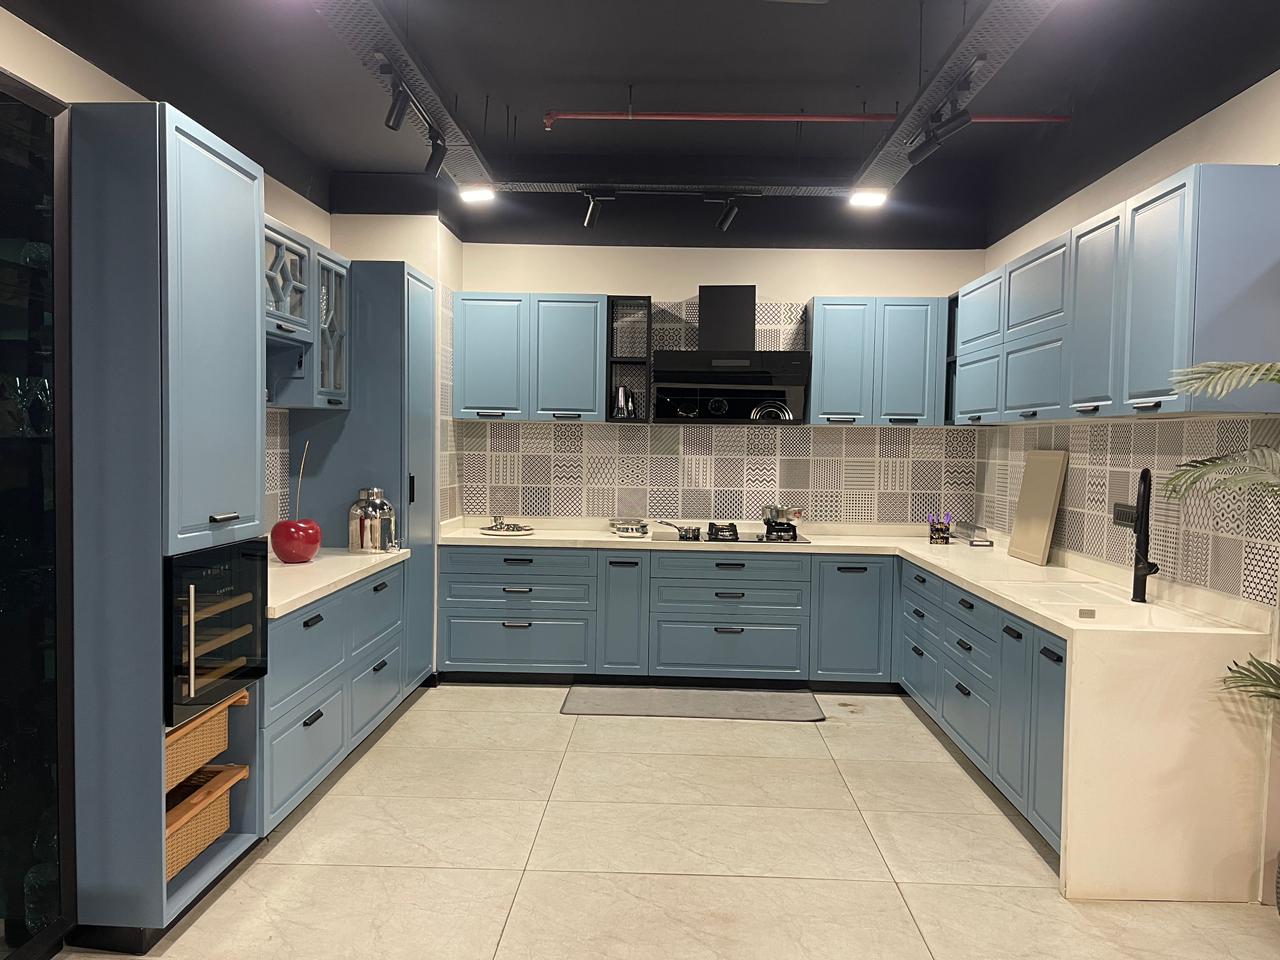 | MODULAR KITCHENS C SHAPED KITCHENS ₹1 PREMIUM MODULAR KITCHEN MADE WITH BWR CARCASS AND ROUTED DESIGN PU MATT FINISH SHUTTERS FITTED WITH HETTICH HARDWARE. |
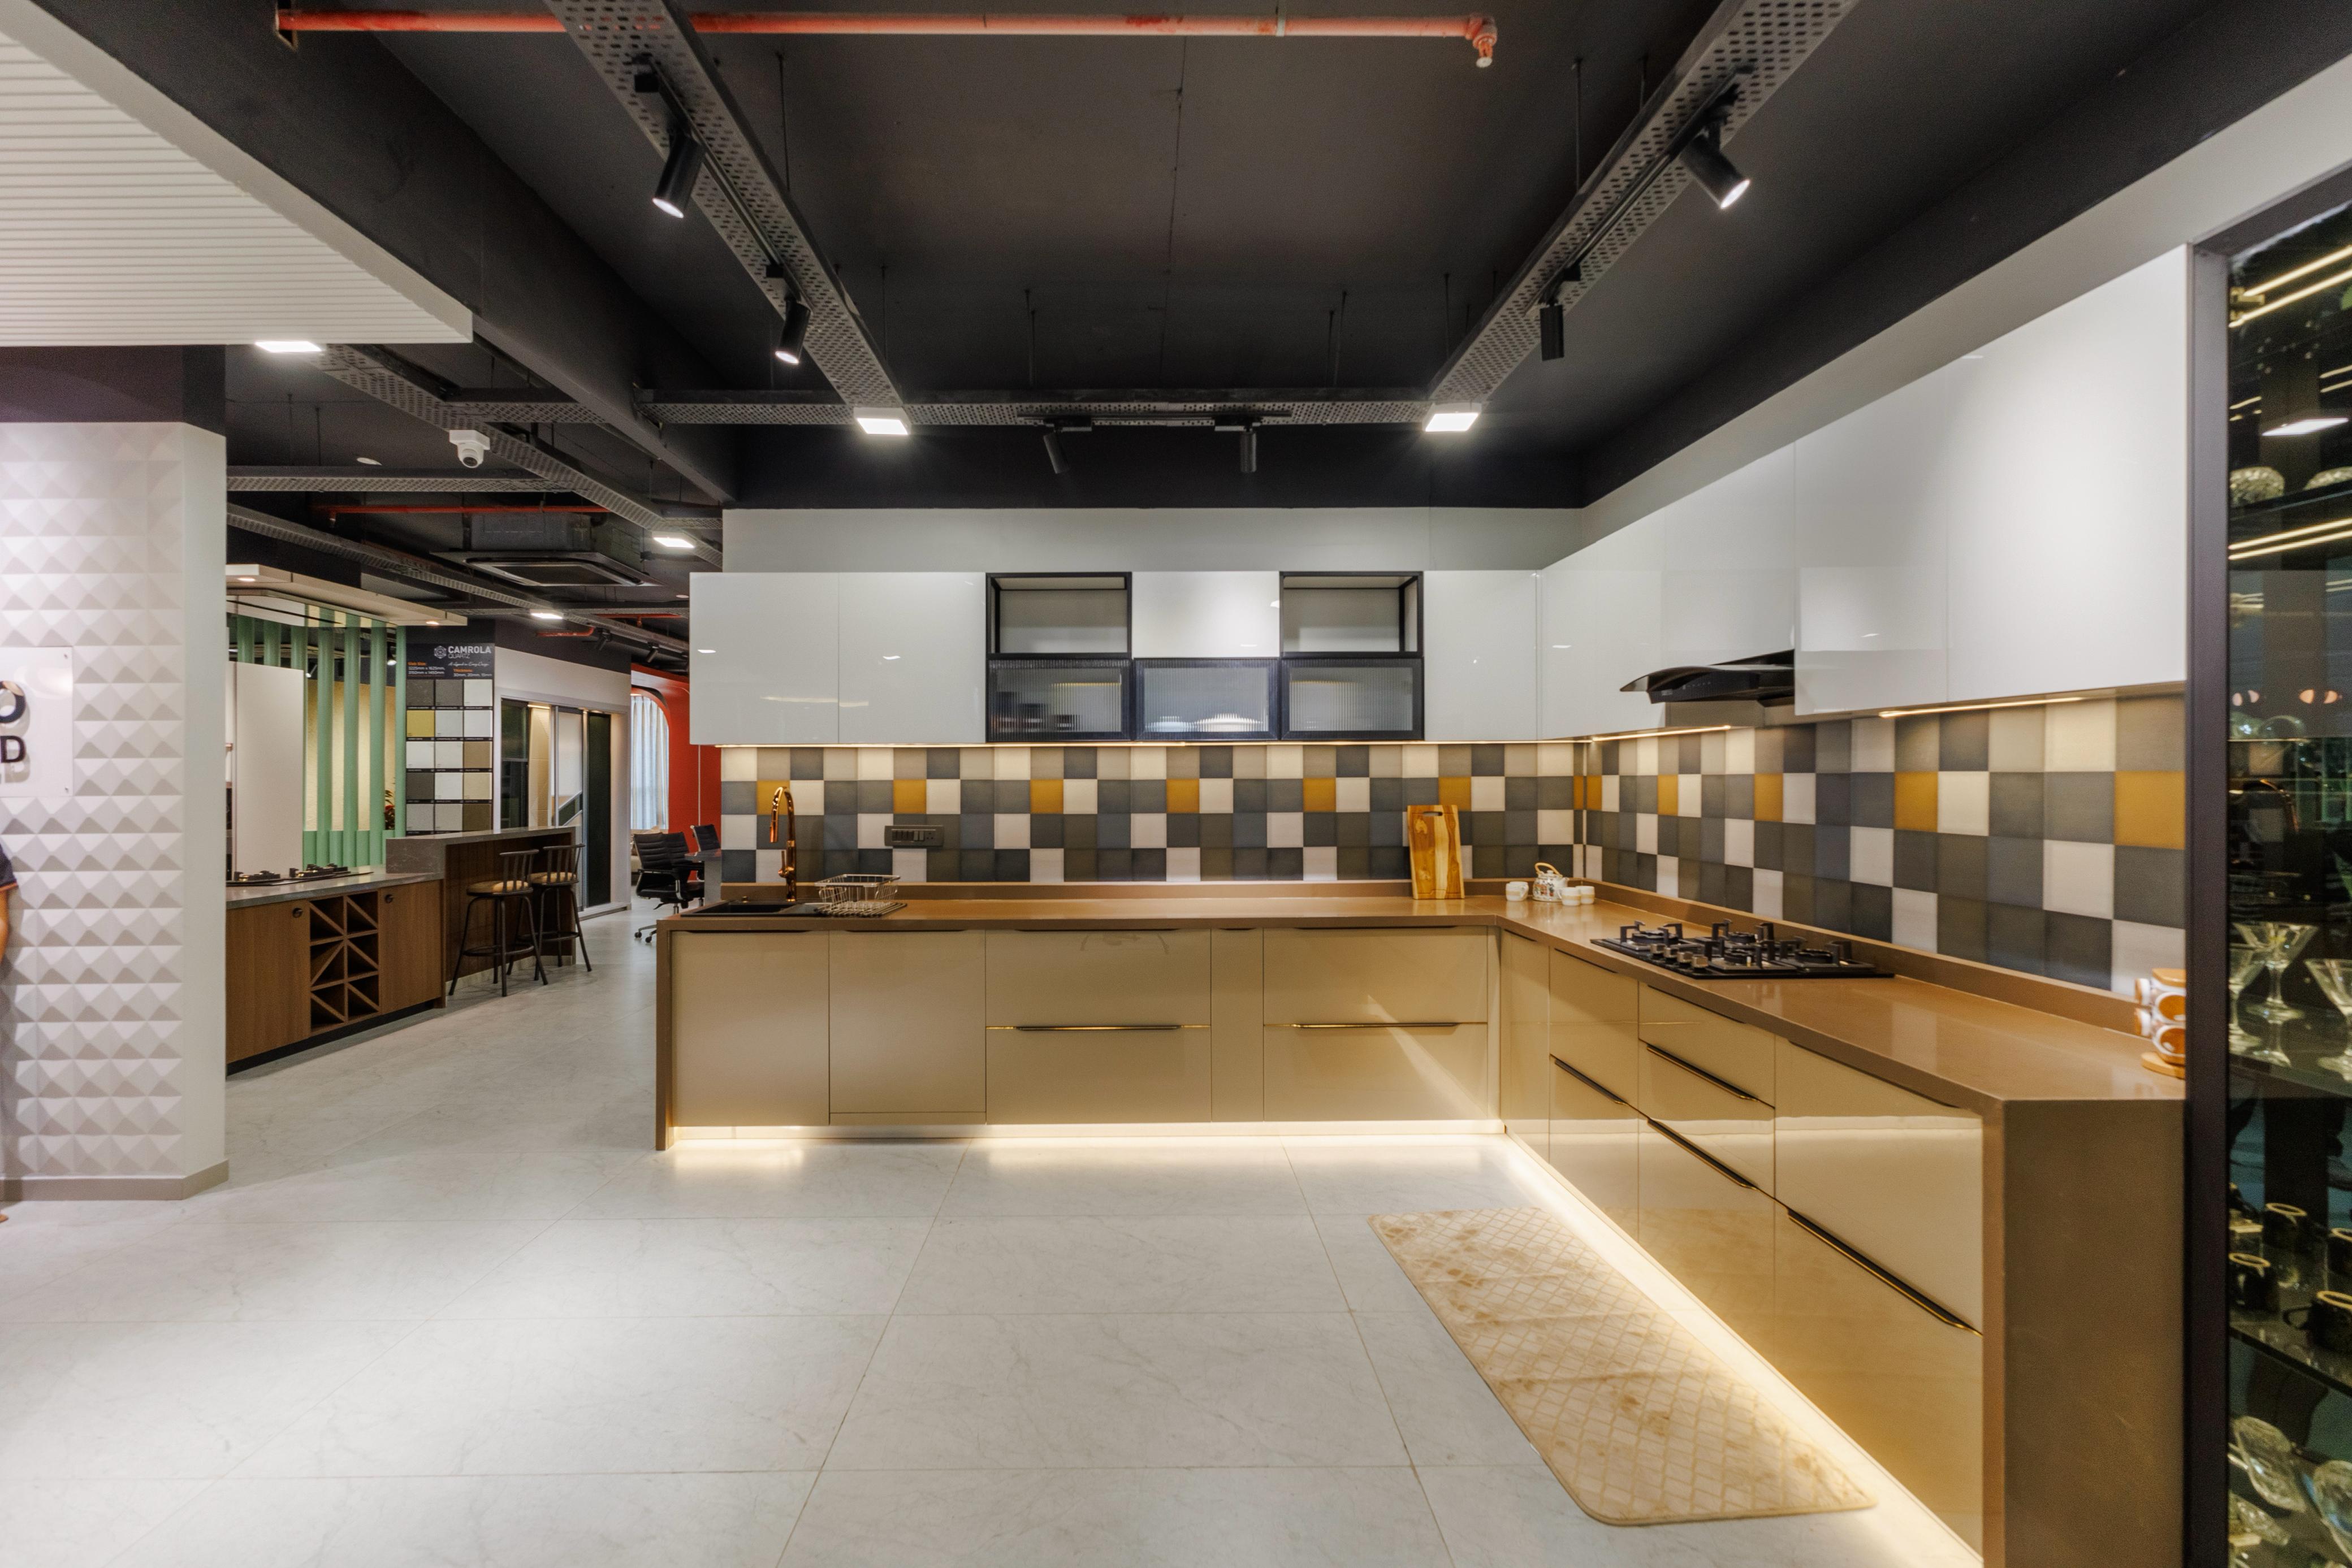 | MODULAR KITCHENS L-SHAPED KITCHENS ₹1 PREMIUM MODULAR KITCHEN MADE WITH BWR CARCASS AND IMPORTED FINISH ACRYLIC SHUTTERS FITTED WITH BLUM HARDWARE. |
Frequently asked questions
What should you measure before ordering a shaped kitchen in Pune?
Measure each wall in millimetres, including ceiling height, wall thickness, doors, windows, beams, columns, plumbing points, electrical points and appliance spaces. Check measurements at floor, counter and overhead-cabinet height because walls are not always square.
How do you choose between a C-shaped and L-shaped kitchen?
Choose an L-shaped layout when you want an open walkway and two connected work runs. Choose a C-shaped layout when you need more storage and preparation space across three sides. Confirm that the C shape leaves enough room for cabinet doors and movement.
What clearances should you plan for shaped kitchen installation?
Protect clear walking space between opposing units, allow appliance doors to open fully and avoid placing drawers where corner hardware collides. Mark the sink, hob and refrigerator as separate work zones before finalising cabinet positions.
What is the modular kitchen installation process?
Install and verify plumbing and electrical services first, then level base units, fit corner units, secure wall cabinets, install shutters and hardware, place the countertop, seal joints and connect appliances. Complete testing before accepting the handover.
What should you test during a kitchen installation handover in Pune?
Run taps and drainage, check for leaks, test sockets and appliance points, open every drawer and shutter, inspect alignment and countertop joints, and confirm that filler panels, handles, sealant and protective films are finished correctly.
Keywords