A premium façade finish has to withstand Pune’s wet–dry cycle, dust, sun and drainage problems—not merely look attractive on a sample card. By the end, you will be able to compare texture systems, identify unsuitable walls, specify preparation and choose a designer finish that remains maintainable.
Key takeaways
- Match texture to wall movement, weather exposure and maintenance tolerance.
- Repair cracks and dampness before applying any textured coating.
- Use a breathable, UV-resistant finish suited to Pune’s monsoon and sun.
- Compare sample panels, coverage, preparation work and repainting needs—not colour alone.
Which Exterior Texture Finish Suits Your Wall and Budget?
Choose the finish by matching movement, exposure and maintenance tolerance—not by colour alone. A textured coating is a decorative protective layer, not waterproofing; cracks around parapets, windows, slabs and service penetrations need repair before application.
| Option | Performance | Appearance and budget fit |
|---|---|---|
| Cement-based textured plaster | Rigid, economical and breathable, but vulnerable to hairline cracking on moving walls | Mineral, handcrafted depth; suits new, sound plaster |
| Acrylic texture coating | Better flexibility and colour retention than cement; needs compatible primer and correct curing | Fine to medium grain with many colours; mid-range option for painted walls |
| Elastomeric coating | Most forgiving of minor movement when applied at the specified thickness; water-resistant does not mean structural waterproofing | Softer, less sharply textured finish; useful on repaired façades |
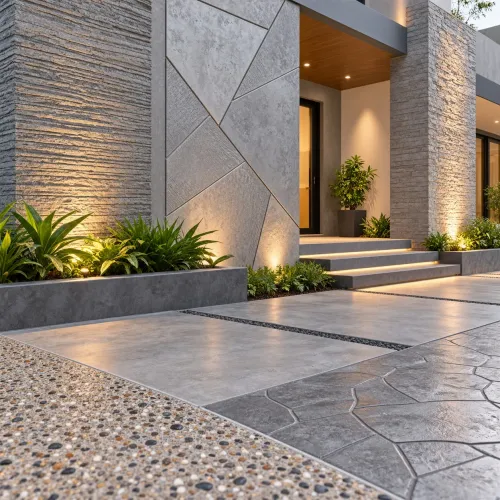
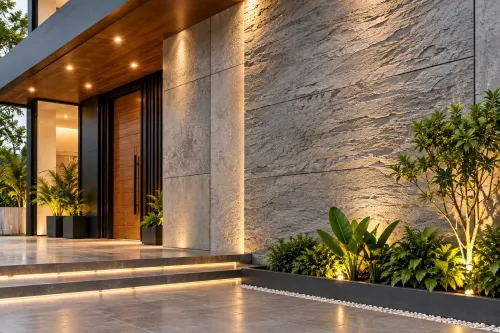
| Stone-finish texture | Resin and aggregate create a stone-like surface; heavier textures hold dust and require sound adhesion | Premium speckled appearance without full cladding cost |
| Concrete-look finish | Usually trowelled and relatively rigid; shows substrate defects and application marks | Contemporary, monolithic appearance; labour raises cost |
| Sand-finish texture | Grain disguises minor unevenness and offers a simple protective surface | Low-to-mid cost, practical for compound walls and broad elevations |
Request a sample panel, not just a colour card. View it in direct sun and after wetting: grain changes shadow, perceived colour and sheen. Stone cladding or tiles look richer but add dead load, joints and water-ingress points, so check fixing and movement detailing before using them on an existing wall.
How Pune’s Monsoon and Sun Test a Textured Façade
Prevent water ingress, trapped dampness, algae and fungus, salt staining, fading and hairline cracking before choosing a texture. The Pune monsoon keeps façades wet and humid; strong dry-season sun then causes rapid drying and thermal movement. A decorative grain cannot compensate for failed drainage or weak plaster.
| Failure | Main cause | Check before selection |
|---|---|---|
| Water ingress | Cracked junctions, failed sealant or flat ledges | Parapet copings, window drips, sill slopes, balcony edges, pipe penetrations and wall–slab joints must shed water outward |
| Efflorescence | Moisture carrying salts through masonry | Remove the white powder and correct the damp source; do not seal it below the texture |
| Algae and fungus | Persistent shade, humidity and surface dirt | Inspect shaded elevations and confirm the finish and cleaning plan suit those conditions |
| Fading or cracking | Ultraviolet exposure, heat and wet–dry movement | View a cured sample panel in direct sun and after wetting it |
Check the wall before comparing colours. Dust, chalking paint, loose plaster and residual dampness can cause blistering or peeling, while uncorrected cracks reopen through the new coat.
Stone cladding, brick slips and exterior tiles add dead load and create joint, adhesive and edge-detail risks. On an existing wall, verify the substrate, fixing method and movement joints before choosing them.
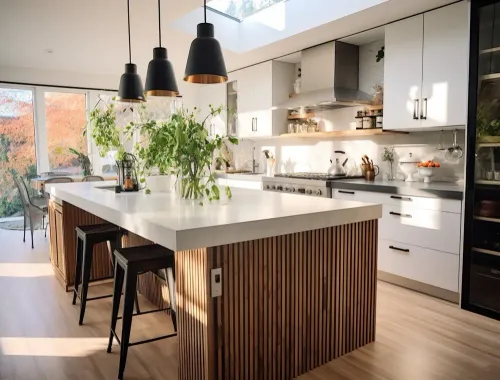
Complete and cure the façade before installing fixed cabinetry near an exterior wall. Hidden dampness behind furniture can damage backing materials and conceal the original failure.
Prepare the Substrate Before Applying Any Texture
Texture will copy every defect beneath it, so complete surface preparation before opening the decorative-coat container. The wall must be sound, clean, dry and free from anything that prevents primer adhesion.
1. Inspect the entire elevation for damp patches, efflorescence, algae, fungus, hollow plaster, powdering and active leaks. Fix waterproofing at parapets, window sills, projecting slabs, junctions and service penetrations; texture is not a substitute for waterproofing.
2. Remove loose paint, chalking layers, dust and grease from old painted walls. Scrape, wire-brush or pressure-wash only where the substrate can dry fully afterward, then level sound areas so stripped and unstripped sections do not telegraph through the finish.
3. Complete crack repair before levelling. Open hairline cracks into a clean groove, fill them with a compatible exterior crack filler and reinforce recurring cracks or movement joints with the specified mesh or sealant. Do not bridge structural or moving cracks with texture alone.
4. Treat exposed brick, concrete and repaired plaster according to their absorption and condition. Remove laitance and salts, replace weak mortar or plaster, and allow fresh repairs to cure for the period stated by the material manufacturer.
5. Apply the compatible exterior masonry primer over the prepared, sufficiently dry surface. Match primer to the texture binder—acrylic, elastomeric or cement-based—and respect its coverage and recoat interval; an incompatible primer can cause peeling or uneven grain.
Approve a representative sample panel before full application. View it on flat walls, reveals and corners in direct sun and after wetting, because texture depth changes colour and shadows.
Designer Texture Ideas That Stay Practical Outdoors
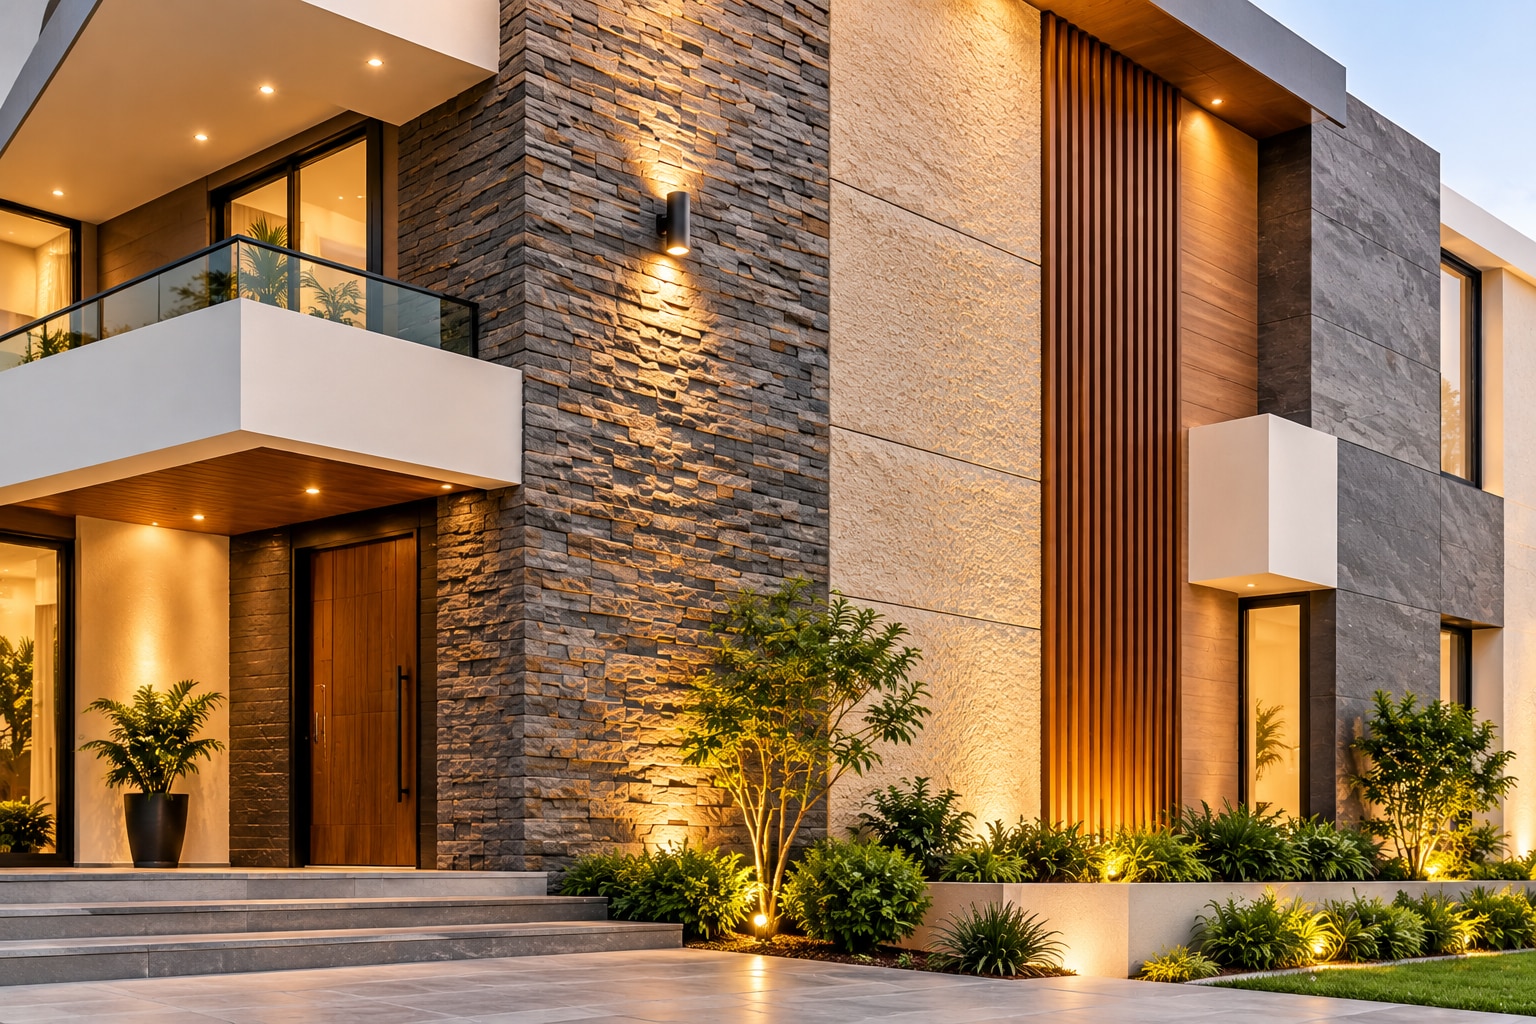
Keep exterior texture shallow on broad walls: deep relief traps dust, holds monsoon moisture and makes repainting difficult. Use a finer grain on window reveals and balcony undersides, where shadows already strengthen the pattern.
| Location | Practical texture choice | Colour and sheen |
|---|---|---|
| Main façade | Concrete-look finish or fine sand-finish texture | Mid-tone grey, beige or greige with a low sheen to disguise dust |
| Balcony wall | Fine-grain acrylic texture with restrained relief | Light to medium shade; matt or satin-matt to reduce glare |
| Boundary wall | Sand-finish texture or travertine-look finish | Earth tones with a washable low-sheen surface |
| Shaded elevation | Fluted finish or trowelled texture | Lighter colour to prevent a heavy appearance; avoid glossy coatings |
Use the fluted finish selectively on entrance bays or vertical feature strips, not across an entire boundary wall. Narrow grooves collect dirt and algae, while broad, shallow bands remain easier to wash.
Choose colour from a representative sample panel, not a small card. Texture changes perceived colour through shadow, and the same finish can look different on flat walls, corners and reveals; view the panel in direct sun and after wetting it.
Record the aggregate size, colour code, sheen, coat count and repair method. Matching these details later prevents a patch from showing a different grain or gloss. Inspect travertine-look finishes for staining and absorption before approving the full façade.
Specify, Compare and Maintain a Premium Exterior Finish
Record these details in the contractor specification:
- Substrate condition, repairs completed, primer brand and compatibility
- Texture type, aggregate size, number of coats and expected coverage in square metres per litre
- Curing interval between coats and before exposure to rain
- Colour code, sheen, UV resistance, washability and expected colour retention
- Crack-bridging ability, stated as a coating performance claim rather than assumed from “water-resistant”
- Repair procedure and maintenance interval, so future patches match the original grain and sheen
Compare shortlisted systems against the wall’s exposure and upkeep demands.
| Finish | Strength to verify | Main concern |
|---|---|---|
| Acrylic or elastomeric | UV resistance, washability and crack-bridging ability | Film thickness, primer compatibility and curing determine performance |
| Stone finish or cladding | Colour variation, absorption and cleaning response | Porous stone stains; cladding adds dead load, joints and water-ingress points |
| Concrete-look or trowelled finish | Sample-panel appearance and repair matching | Flat walls, corners and reveals can show different shadows and sheen |
Approve a representative sample panel, not a small colour card. View it in direct sun and after wetting, then check the proposed sealer on natural stone before installation.
Use a specialist design and installation partner for cladding, complex reveals, movement joints, extensive repairs or a finish requiring controlled film thickness. The partner should document edge detailing and fixing methods. Kibo World can also coordinate façade completion and full curing before exterior-wall cabinetry is installed, preventing hidden dampness behind fixed furniture.
Frequently asked questions
Which exterior texture finish suits my wall and budget?
Choose fine textures for a restrained look and easier cleaning; use heavier textures to disguise minor surface variation. Compare material coverage, labour, substrate repairs and future repainting—not just the price per litre.
How do Pune’s monsoon and sun affect a textured façade?
Monsoon rain exposes cracks, weak joints and poor drainage, while strong sun fades colours and stresses coatings. Select an exterior-grade, UV-resistant finish and fix water entry before application.
How should I prepare the substrate before applying exterior texture?
Remove loose paint, clean salts and algae, repair cracks around parapets, windows, slabs and service penetrations, allow damp walls to dry, then apply the specified primer before texture.
What should I compare when specifying a premium exterior finish?
Request the product data sheet, coverage rate, recommended coats, primer type, drying time, colour-fade guidance and maintenance method. Compare finished sample panels under direct sun and after wetting.