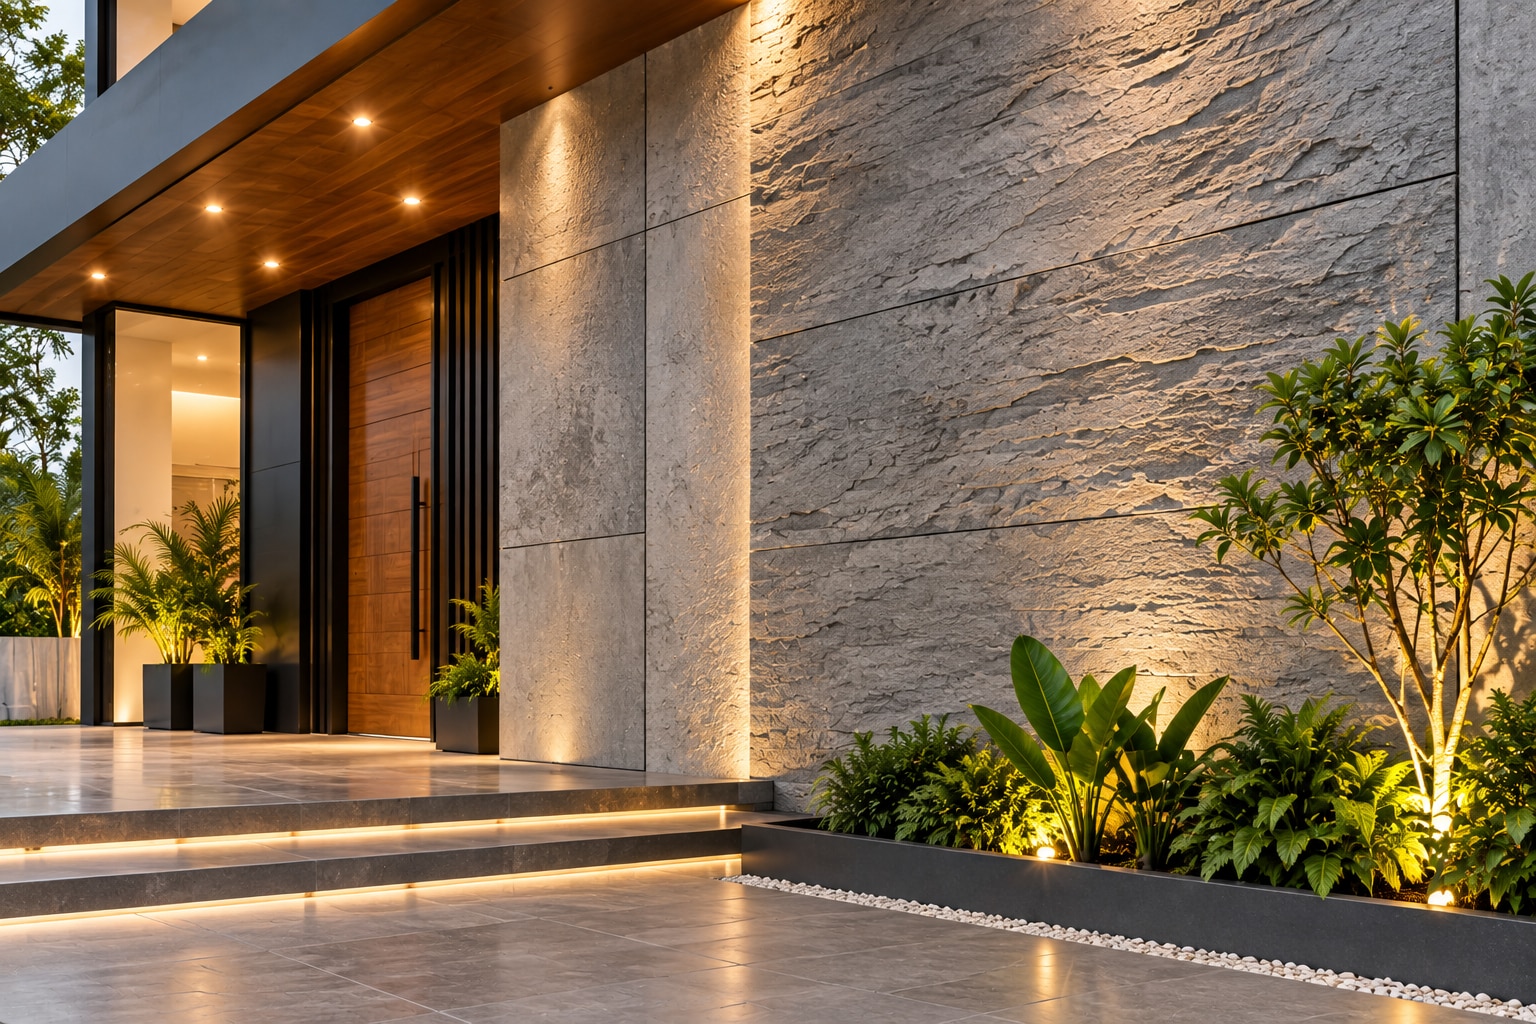
A luxury concrete wall is not one product: paint, microcement, plaster, exposed concrete and concrete-effect panels create different appearances, costs and performance risks. By the end, you will be able to match a finish to your wall substrate, Pune’s monsoon exposure and the demands of each room, then specify the preparation, sealer and maintenance it needs.
Key takeaways
- Match the finish to wall movement, moisture exposure and required surface depth.
- Repair cracks and control damp before applying any concrete-look coating.
- Use UV- and rain-resistant exterior sealer on exposed Pune walls.
- Approve sample panels, substrate preparation and sealer specifications in writing.
Which concrete-look finish suits your wall?
Choose the finish according to the wall’s movement, moisture exposure and desired depth—not colour alone. Concrete-look coatings are decorative; they do not give a wall the structural strength, crack control or impact resistance of cast concrete.
| Option | What it means | Best use |
|---|---|---|
| Concrete texture paint | Paint with aggregate or roller-built texture | Low-cost interior feature walls |
| Microcement | A few-millimetre cementitious coating, trowelled and sealed | Seamless interiors over sound plaster, masonry or board |
| Concrete-effect panels | Precast, GFRC or manufactured cladding panels | Fast visual change; exterior panels need engineered fixings |
| Exposed concrete wall finish | The actual cast concrete surface remains visible | New construction where formwork and curing are controlled |
| Lime plaster | Breathable mineral plaster with soft tonal variation | Dry interiors and heritage-style walls |
| Venetian plaster | Fine polished plaster with layered depth and sheen | Luxury foyers, living rooms and bedrooms |
| Cement render | Sand-and-cement base coat with a rough or floated texture | Robust exterior walls and utility areas |
Specify the luxury effect separately: smooth cast concrete, board-marked lines, trowelled microcement, a burnished surface, acid-wash appearance or layered tonal texture. A sample panel matters because cement colour, water, pressure, drying and sanding alter every batch.
Use microcement for renovation, but repair movement cracks, dampness and uneven joints first. For a kitchen wall, detail the upstand, sink and cabinet junctions with flexible sealant. Exterior concrete-effect panels need checks for weight, wind suction, thermal movement and drainage; bonding a thin panel alone is not a fixing design.
What preparation does each wall substrate require?
The finish is only as reliable as the wall beneath it. Because microcement and similar coatings are a few millimetres thick, movement cracks, damp patches, loose paint and uneven joints can show through.
Begin wall substrate preparation by checking that the surface is dry, sound, clean and reasonably flat. Repair leaks and efflorescence before coating; sealing an actively damp wall can cause whitening, blistering or debonding.
- Plaster: Apply over firm, fully cured plaster after filling dents and sanding high spots. Hack off hollow, powdery or badly cracked areas, then replaster and cure them before levelling.
- Gypsum board: Use boards fixed without flex, with taped and reinforced joints, filled screw heads and a compatible primer. Reinforce movement-prone joints; do not coat over loose paper or unfilled seams.
- Cement board: Fix it rigidly, treat board joints with the specified tape and adhesive, and cover fasteners. Use exterior-rated board and movement detailing where the wall faces rain or large temperature changes.
- Existing paint: Perform an adhesion check and remove every flaking, chalky or glossy layer that fails. Level remaining paint only when it is firmly bonded; hack or strip it when multiple layers are loose.
- Brick: Do not coat directly over uneven open joints. Replaster with a compatible cementitious base, cure it, and repair crack movement before levelling.
- Concrete: Remove laitance, grease and weak concrete, then fill honeycombs and cracks. A renovation coating cannot turn a rough wall into true polished concrete.
Finish only after crack repair and moisture testing are complete.
How should interior and exterior walls be detailed in Pune?
In Pune, detail protected interior walls for staining and junction movement; detail exterior walls first for water shedding and thermal movement. The Pune monsoon repeatedly wets and dries surfaces, while heat adds expansion and contraction.
- Living-room wall: Use an interior concrete wall texture with shallow trowel variation and a cleanable matte or satin sealer. Keep deep grooves away from switches and furniture contact points.
- Bedroom: Choose a low-dust, low-sheen finish with restrained texture; strong relief catches shadows and makes repairs obvious beside the bed.
- Foyer: Specify a tougher, wipeable surface because shoes, bags and dust mark the first wall guests touch.
- Balcony: Give the exterior concrete wall finish a sloped coping, drip edge and sealed junctions. Do not let texture bridge the floor-wall joint.
- Terrace: Prioritise falls, parapet coping and flashing before appearance. A decorative coating is not the waterproofing layer.
- Bathroom: Install waterproofing behind the finish, seal tap and pipe penetrations, and use flexible sealant at changes of plane. Sealer alone will not stop water entry.
- Kitchen: Detail the finish around the countertop upstand, sink, tap holes, electrical boxes and cabinet end panels. Use flexible sealant at each junction.
- Compound wall: Use a weather-resistant, shallow texture that can be washed; deep relief retains dust and displays rain streaks.
- Exposed façade: Keep the façade wall texture away from window sills, exhaust outlets and poorly drained ledges. Specify alkali- and weather-resistant pigments, continuous movement joints, flashings and drip edges.
What sealer and maintenance plan does the finish need?
Choose the sheen by deciding whether visual softness or easier cleaning matters more. A matte concrete finish conceals minor trowel variation and looks more mineral; a satin finish reflects more light, highlights texture, and gives better wipeability.
| Sheen | Choose it when | Trade-off |
|---|---|---|
| Matte concrete finish | Living rooms, bedrooms and low-touch feature walls | Marks and grease show sooner |
| Satin finish | Kitchens, foyers, corridors and frequently wiped surfaces | Reveals uneven texture and patching more clearly |
Ask for a concrete wall sealer tested for the specific cementitious coating, with documented stain resistance, UV stability and water resistance. Do not assume “sealed” means waterproof: in bathrooms, balconies and exterior walls, the waterproofing layer, sealed penetrations, drainage and movement joints remain responsible for keeping water out.
Wipe spills from oil, coffee, acidic food or hard-water deposits promptly. Use a soft cloth, warm water and a neutral-pH cleaner; avoid bleach, abrasive powders, strong descalers, vinegar and stiff brushes, which can etch the finish or attack the sealer.
Inspect the wall annually, especially after Pune’s monsoon. Recoat at the manufacturer’s stated interval, commonly based on traffic, sunlight and moisture rather than a fixed calendar. Reseal sooner when water no longer beads, stains penetrate after cleaning, or the surface turns patchy. Never seal over efflorescence or dampness; diagnose and fix the moisture source first.
At counters, sinks and changes of plane, renew flexible sealant separately instead of filling joints with rigid cement.
What should you approve before appointing an installer?
Approve a full-size sample panel made on the same substrate, with the proposed primer, layers, joints, sanding and sealer. A small colour chip cannot show how cement colour, water content, trowel pressure, drying and sanding will create variation across a wall.
| Check | Approve | Reject |
|---|---|---|
| Appearance | Daylight and warm artificial-light views of board-marked concrete, burnished finish, acid-wash effect or layered texture | A showroom chip that hides joints, corners and tonal variation |
| Specification | Substrate, total thickness, mesh or reinforcement, joint treatment, sealer and repair method stated in writing | “Concrete finish” with no distinction between microcement, plaster or cast concrete |
| Durability | Alkali- and weather-resistant pigment compatible with cement; request the pigment specification, with ASTM C979/C979M suitability where relevant | Colour chosen without a weather and sealer system for an exterior wall |
| Site condition | Moisture diagnosis, sound substrate, level joints and no loose paint, active damp or efflorescence | Sealing over whitening, blistering or a damp masonry wall |
Require a written method statement covering dust control and protection during grinding or mechanical polishing. Wet cutting, local extraction, suitable respiratory protection and keeping occupants outside the work zone reduce respirable crystalline silica exposure.
For a kitchen wall, give Kibo World the approved finish thickness and final datum before cabinetry is manufactured; otherwise the extra build-up can misalign end panels and worktops. Reject any installer who promises structural crack control from a few-millimetre decorative coating.
Frequently asked questions
Which concrete-look finish suits my wall?
Choose based on the wall’s movement, moisture exposure and desired depth rather than colour alone. Decorative coatings do not provide cast concrete’s structural strength, crack control or impact resistance.
How should a wall be prepared before applying concrete-look texture?
The installer must identify the substrate, remove loose paint, repair cracks, level uneven areas and resolve dampness before coating. Preparation differs for plaster, gypsum board, concrete and previously painted walls.
How should concrete-look finishes be detailed for Pune interiors and exteriors?
Interior walls need clean edge, corner and junction detailing. Exterior walls need weather-resistant materials, drainage-aware detailing and a UV- and rain-resistant sealer suited to Pune’s monsoon exposure.
What sealer and maintenance does a concrete-look finish need?
Specify the sealer by location and exposure, then follow its curing and recoating instructions. Clean with a soft cloth and pH-neutral detergent, and inspect for peeling, staining or new cracks.
What should I approve before appointing an installer?
Approve a full-size sample panel, substrate repairs, coating layers, texture method, colour, edge details, sealer, maintenance instructions and written exclusions before work begins.